
Last updated November 15, 2026
 Wrought iron
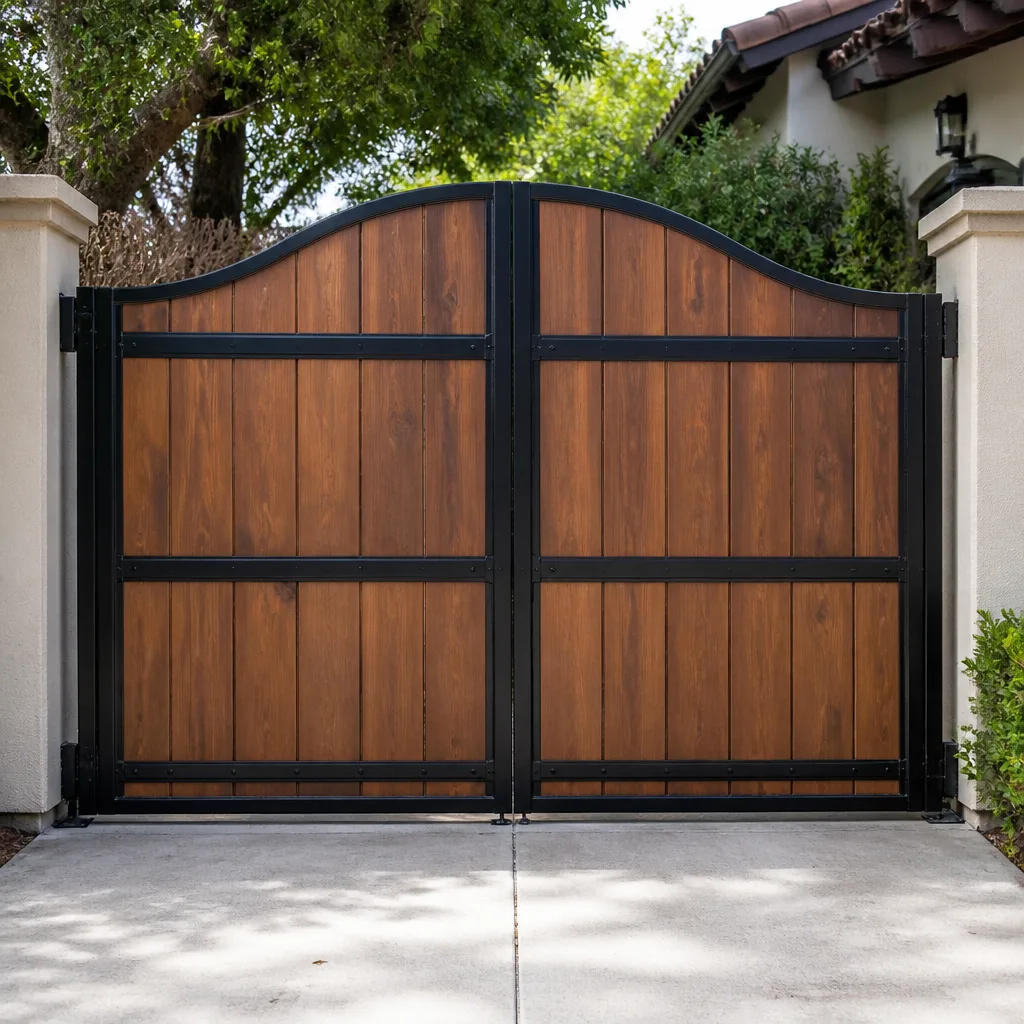 Wood & steel frame
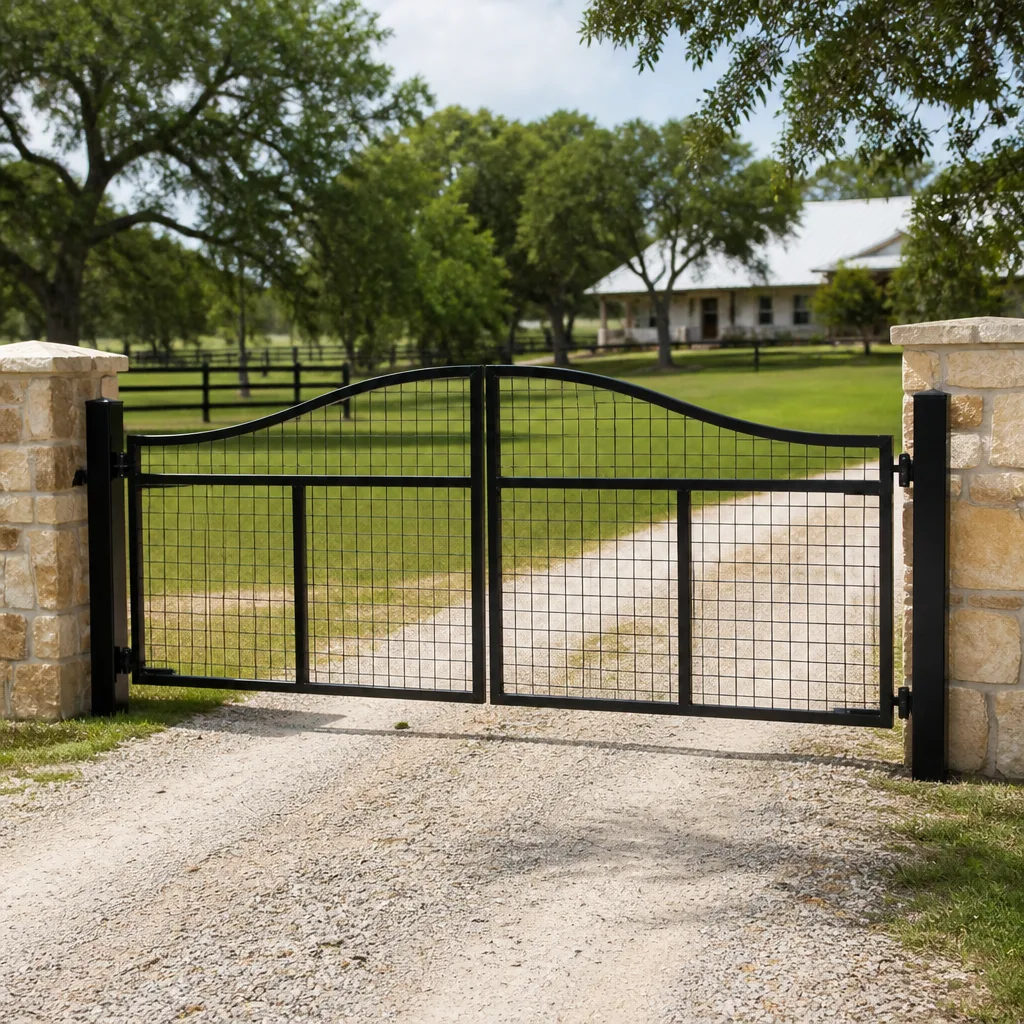 Farm & ranch
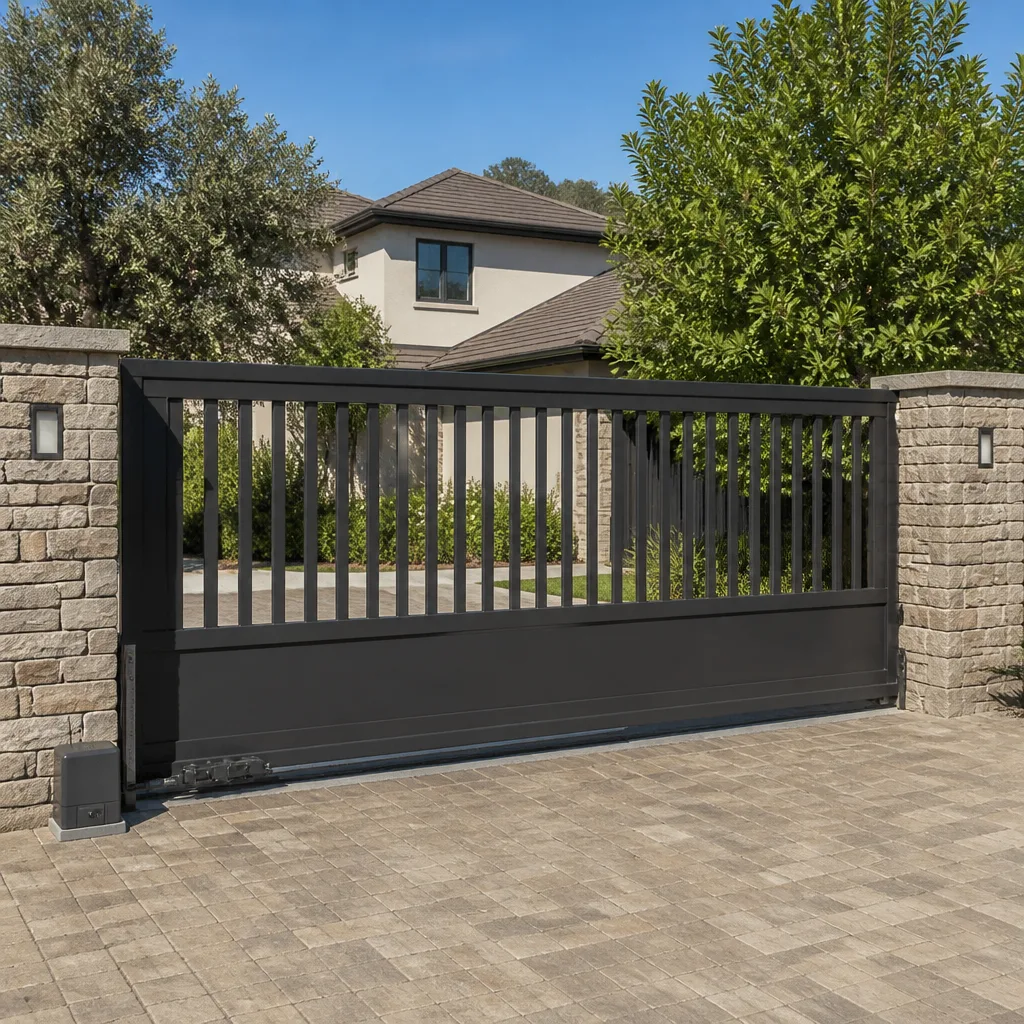 Sliding driveway gates
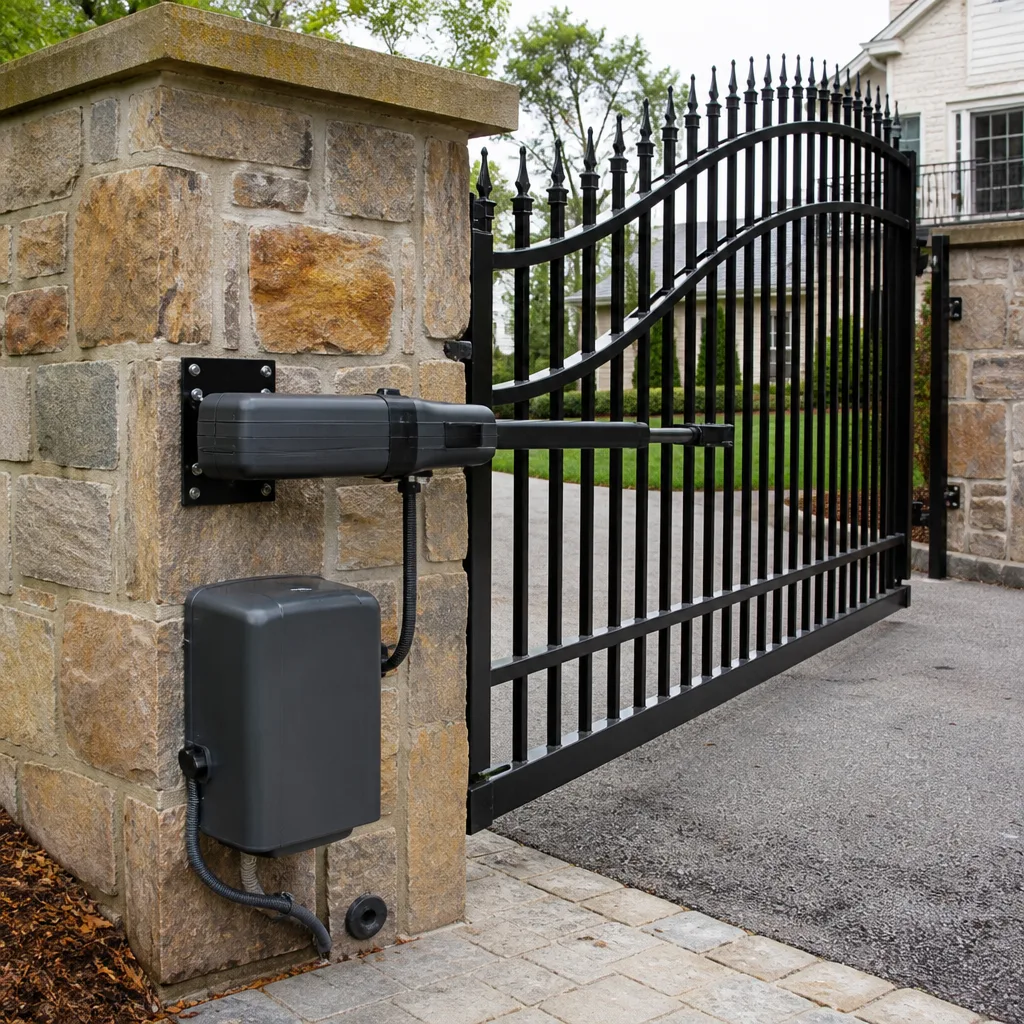 LiftMaster operators
Free on-site gate assessment - hinges, posts, and your LiftMaster or Nice gate operator checked before anything is quoted
The assessment is free and the quote is the invoice.
Get your free estimateGate Repair Maintenance Checklist for Portland Homeowners
Most gate maintenance advice is written for a climate that isn’t ours. Laminated cards tell you to “inspect quarterly” and “oil moving parts,” which is fine for a dry suburb and almost useless in a city where the ground stays wet from October to April. In Portland, the failure mode isn’t wear from overuse. It’s moisture. Moss and algae colonize the top of a control board housing, water works past a tired gasket, and terminal connections start to corrode long before the gate itself looks old. That’s the pattern we see repeatedly on Portland properties. This checklist is built around what actually degrades first here, month by month, so you can catch problems while they’re still cheap to fix.
Quick Answer
A Portland gate lasts longer and fails less when you inspect it on a rain-season and dry-season rhythm rather than a generic quarterly one: check the operator enclosure for moisture and moss before and after the wet season, test the battery backup ahead of the November-to-January windstorm stretch, and check chain or belt tension after the first hard freeze and again in spring. Lubricate with a product that resists water washout, not a thin spray that’s gone in two weeks. Most of the serious damage we’re called out for in Portland would have shown up months earlier during a ten-minute visual inspection.
Styles & brands we work with
- Wrought iron
- Wood & steel frame
- Farm & ranch
- Sliding driveway gates
- LiftMaster operators
Table of Contents
- Why Portland Gates Fail Differently
- The Month-by-Month Maintenance Calendar
- Inspecting the Operator Enclosure for Moisture Without Voiding the Warranty
- Chain and Belt Tension After Winter Frost Cycles
- Battery Backup Testing for Windstorm Season
- Choosing Lubricants That Survive a Wet Climate
- Safety Devices, Loops, and Keypads
- Building a Maintenance Schedule That Fits Real Life
Why Portland Gates Fail Differently
Portland sits in a wet, mild climate with a long rainy stretch and enough freezing nights in the cold months that hardware gets pushed in two directions at once. The result is a set of failure points you won’t find on a national checklist. Humidity works on electrical components year-round. Freeze-thaw cycles stress hinges, rollers, and the mechanical linkage between an operator and the gate leaf. Moss and algae grow on anything porous or damp, including the plastic and metal housings that protect the electronics running your gate.
Here’s what that looks like in practice:
- Corroded terminal connections. Moisture reaches control boards through gaskets, cable entries, and seams in the enclosure. Once terminals corrode, the operator starts behaving erratically or stops responding to the remote entirely.
- Moss intrusion. Moss takes hold in the shaded recesses of a control housing and holds water against the metal. Left alone, it works its way toward the board.
- Freeze-thaw stress. Water gets into a small gap, freezes, expands, and opens it further. Rollers and hinges take the brunt.
- Washed-out lubrication. A thin lubricant applied in October is often gone by December. Hinges and chains that should glide start to grind.
- Failing batteries. Backup batteries that sit untested through the wet months tend to show their weakness during the first real power outage.
None of this means a gate in Portland is doomed. It means the inspection rhythm should match the weather. A gate on the east side that sees more frost gets a different schedule than one tucked into a protected courtyard. But the underlying principle holds: if you understand what degrades first here, you can catch it before it turns into a repair call.
The Month-by-Month Maintenance Calendar
Generic checklists divide the year into four neat quarters. Portland doesn’t work that way. The wet season, roughly October through April, is when moisture damage happens. The dry months are when you clean up and prepare. Here’s a calendar that fits that reality.
- September (pre-season prep). Clear debris from the track and the base of the gate. Clean moss and organic growth off the operator housing. Look over every gasket and seal. This is the last good window to fix small problems before the rain starts.
- October (wet season begins). Confirm the enclosure door closes and seals properly. Check that cable entries are sealed. Test the battery backup. Note anything that looks off already.
- November (windstorm season starts). Re-test the battery backup under a simulated outage. Check chain or belt tension. Inspect hinges and rollers for water intrusion.
- December through February (peak wet and cold). Do a quick visual inspection every few weeks: any new moss, any water pooling near the base, any change in noise or speed. After the first hard freeze, check chain or belt tension again.
- March (freeze-thaw window). This is when tension problems show up. Recheck and adjust. Look closely at roller wear and hinge play.
- April (end of wet season). Full inspection. Clean the enclosure interior carefully (see the moisture section below). Re-lubricate moving parts with the right product.
- May through August (dry season). Light maintenance: keep debris out of the track, test the safety devices, run a full open-and-close cycle to confirm smooth operation. This is also the window to schedule any repair work you’ve been putting off.
The point of this calendar isn’t that you have to do heavy work every month. It’s that the two transitions, into the wet season and out of it, are the ones that matter, and the freeze-thaw period in between deserves a second look at tension.
Inspecting the Operator Enclosure for Moisture Without Voiding the Warranty
The control board is the most expensive single part of most electric gate systems, and it’s also the part most exposed to Portland’s humidity. The good news is you can inspect for moisture intrusion without pulling the board or breaking a seal. The key is to look, not to disassemble.
Start with a visual inspection from outside the enclosure:
- Open the enclosure door and look for water droplets, streaking, or a damp smell inside. Any of those is a sign the gasket or a cable entry has failed.
- Check the gasket around the door. It should be pliable, not cracked or compressed flat. A stiff gasket isn’t sealing.
- Look at each cable entry. They should be sealed with a gland or grommet. Loose or missing seals let water wick in along the wire.
- Look for moss or green growth at the top of the housing, near the hinge, and in any recess. If moss is present, moisture is present.
- Check the bottom of the enclosure for standing water or mineral deposits. Both point to water that got in and dried.
If you see signs of moisture, the right move is to contact a specialist rather than pull the board yourself. One of the biggest reasons homeowners end up paying for a full control board replacement is a “helpful” cleaning that dislodges a connection or cracks a seal. This is where brand familiarity matters. An electric gate repair technician who works regularly with systems like LiftMaster and FAAC knows exactly how those enclosures are put together and can reseal them without damage. We’ve also seen plenty of cases where the fault traced back to a gasket that should have been replaced two seasons earlier.
What to Do About Moss on the Housing
Moss on an enclosure isn’t just cosmetic; it holds water against the metal and plastic. A soft brush and water is fine on the outside of the housing. Do not use a pressure washer near seals, cable entries, or the door edge. If moss has grown into seams or cable entries, that’s a resealing job, and it’s worth having someone check the interior while the seal is off. Once moss is established, it returns quickly if the seal isn’t addressed.
Chain and Belt Tension After Winter Frost Cycles
This is the step most Portland homeowners skip entirely. The mechanical linkage between the operator and the gate goes through repeated freeze-thaw cycles over the winter, and tension that’s correct in October can be noticeably off by February. A loose chain or belt slips, jerks, and wears the sprockets. A too-tight one stresses bearings and the motor. Both problems are easier and cheaper to fix early.
Here’s how a standard tension check goes on a slide gate:
- Disconnect the operator from power before you get near the chain or belt. Never work on a moving gate’s linkage with the power on.
- Check the manual release. Confirm the gate disengages cleanly when you move the release lever. If it doesn’t, that’s a separate repair.
- Check deflection by hand. Press gently on the middle of the chain run. There should be a small, even amount of play. The exact spec is different for each brand and model, so use the manufacturer’s number if you have the manual. On a Mighty Mule or Elite system, the right figure is different from a heavy commercial operator.
- Look at the sprocket and belt for wear. A chain that’s stretched shows a “wave” in the run. A belt that’s cracked or glazed needs replacing.
- Re-check after any adjustment. Run the gate a few times and check again. Tension can shift once the system is under load.
If the numbers in your manual don’t match what you’re seeing, or if adjustment feels off, that’s a sign of a deeper issue: worn sprockets, a bent chain run, or a gate leaf that’s out of level. Rather than keep adjusting, get it gate repair looked at. Rebalancing a gate after winter is routine, but it does require properly diagnosing whether the tension is off because of the chain or because the gate itself has shifted.
Battery Backup Testing for Windstorm Season
Portland’s windstorms hit hardest from November through January, and power outages during that window are exactly when a backup battery has to work. The problem is that a backup battery can spend months looking fine and then fail the first time it’s actually needed. Testing ahead of the season is the whole point.
Here’s the protocol that works:
- Test in early November. That’s before the worst of the windstorm stretch, and it gives you time to replace a bad battery.
- Check the battery on the operator. Most systems show battery status on the control board or via a small light. Note what the indicator says.
- Simulate an outage. With the gate closed and clear of anyone, disconnect the operator from its main power and open the gate using the remote. It should move on battery. Reconnect power afterward.
- Time the cycle. Note how many open-and-close cycles it takes before the gate slows or the operator signals low battery. If it’s noticeably fewer than it was last year, the battery is on its way out.
- Re-test in mid-January. A second test halfway through the storm season catches a battery that’s degrading faster than expected.
Batteries on automatic gate operators tend to fail quietly rather than dramatically. They don’t usually stop working completely; they just lose capacity. If you want to be sure the system will carry the gate through an outage, a professional can load-test the battery and confirm the whole backup circuit is healthy. That’s part of what we do on a standard gate repair Portland visit.
Choosing Lubricants That Survive a Wet Climate
Most of what’s sold as gate lubricant is fine in Arizona and gone in three weeks in Portland. Thin sprays and light oils wash off quickly in the wet season, and the result is hinges, chains, and rollers grinding against each other for months. What you want is a lubricant that stays where you put it.
What holds up here:
- Lithium or lithium-complex grease on hinges, pivot points, and rollers. It clings, resists water, and doesn’t run off in the rain.
- Chain-specific lubricant for chain-drive operators. It’s formulated to penetrate the links and stay there rather than sit on the surface.
- Silicone grease on rubber seals and gaskets on the enclosure (never on the operator’s internal electronics).
What doesn’t hold up:
- WD-40 or thin penetrating oil on the moving parts. It’s a great solvent and a poor long-term lubricant. It displaces water, then evaporates or runs off.
- Household cooking oil or generic hardware grease that’s not rated for outdoor use. It can attract grit and gum up over time.
- Overspraying on any of the above. Excess grease collects dirt and, in a wet climate, holds moisture against surfaces.
A simple rule: if a product is described as a “penetrant” or a “spray lubricant,” it’s a short-term fix, not a seasonal answer. Apply a proper grease once at the start of the wet season and once at the end, and most of the grinding noise goes away.
Safety Devices, Loops, and Keypads
A gate isn’t just a gate; it’s an access control system, and the safety devices around it are the parts that literally keep people from being hurt. These deserve their own inspection line. Loop detectors, safety edges, photo eyes, keypads, and intercoms are all vulnerable to moisture, ground movement, and simple wear.
On a typical inspection we check:
- Safety edges and photo eyes. Confirm they trigger correctly by interrupting the beam or pressing the edge. If the gate doesn’t reverse, stop using the operator until it’s fixed.
- Loop detectors. These are buried in the driveway and can be damaged by ground movement, water intrusion, or wear in the asphalt. A loop that doesn’t detect a vehicle is a serious safety issue.
- Keypads and card readers. Test each entry code and device. Moisture gets into keypads and causes intermittent failures long before a total failure.
- Manual release and warning signage. The release should work smoothly and be easy to access. Signage should be legible and in place.
- Gate travel and stops. Confirm the gate stops at the correct open and closed positions and that physical stops are intact.
If the gate doesn’t reverse when a safety device is triggered, do not use it until a technician has looked at it. This is one of the few items on this checklist that’s a stop, not a suggestion. DoorKing access control panels and the various safety devices on gate systems interact in ways that are hard to diagnose without proper equipment, and a specialist is the right call.
Building a Maintenance Schedule That Fits Real Life
Most homeowners don’t need a perfect calendar. They need a schedule they’ll actually keep. Here’s a practical version for a Portland property:
- Monthly during the wet season (October through April): a two-minute visual check: any new moss, any water near the enclosure, any change in how the gate moves or sounds.
- Once before October: full pre-season inspection, clean, and lubrication with a proper grease.
- Once after the first hard freeze: chain or belt tension check, roller and hinge inspection.
- Once in early November and once in mid-January: battery backup test.
- Once in spring (April or May): full inspection, clean, reseal if needed, and lubrication.
- Once a year: a professional inspection covering safety devices, loop detectors, and the operator itself.
If you’re a landlord or property manager, expanding that to a written log for each gate makes a lot of sense. Documenting what you checked and when turns vague “it seemed fine” into a history you can actually use. A three-year-old gate with a documented annual inspection is much easier to maintain than one where nobody remembers when anything was last done.
Common Mistakes to Avoid
- Following a generic quarterly checklist. A schedule built for a dry climate misses the two Portland transitions that matter most: into the wet season in October and out of it in April. Adjust your rhythm to the weather, not to a card.
- Power-washing the operator enclosure. It looks like a fast fix for moss, but high-pressure water gets past seals and into cable entries. That’s how a small moss problem becomes a control board replacement.
- Lubricating with WD-40 and calling it done. It displaces water nicely, then evaporates or runs off within weeks. In a Portland wet season, that leaves hinges and rollers grinding for months.
- Ignoring chain tension after the first freeze. A chain that was correctly adjusted in October is often off by February. Skipping the check wears out sprockets and stresses the motor.
- Skipping the battery test because the gate “works fine.” A backup battery that hasn’t been tested is a battery you don’t know. Test it in November, before the windstorm stretch, not during the first outage.
- Assuming a brand you don’t recognize means you need a whole new system. A technician who only works with one brand will often recommend a swap rather than repair. A brand-agnostic technician diagnoses the system you have, whether that’s a FAAC, a Mighty Mule, or a LiftMaster.
- Letting a safety device problem slide. A gate that doesn’t reverse when the photo eye is blocked is a hazard. Don’t wait to see if it “gets better.”
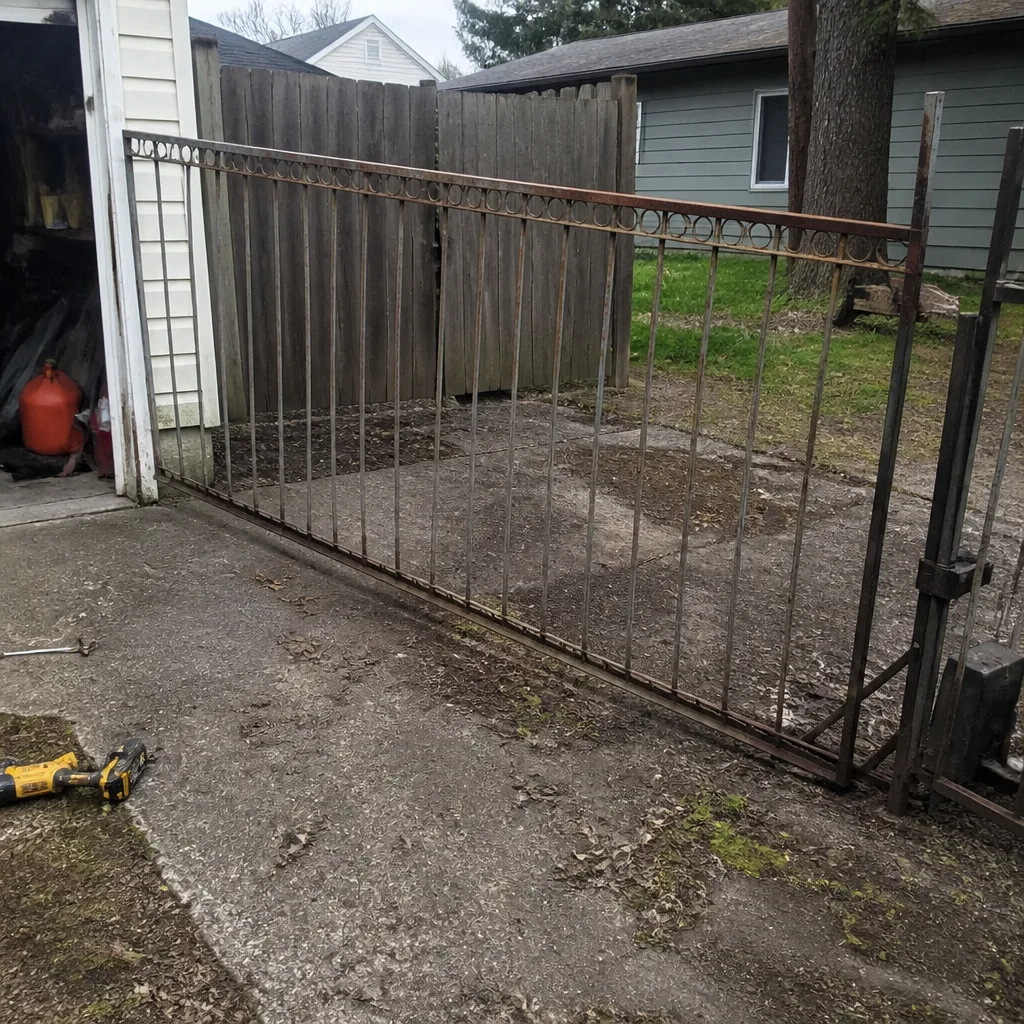
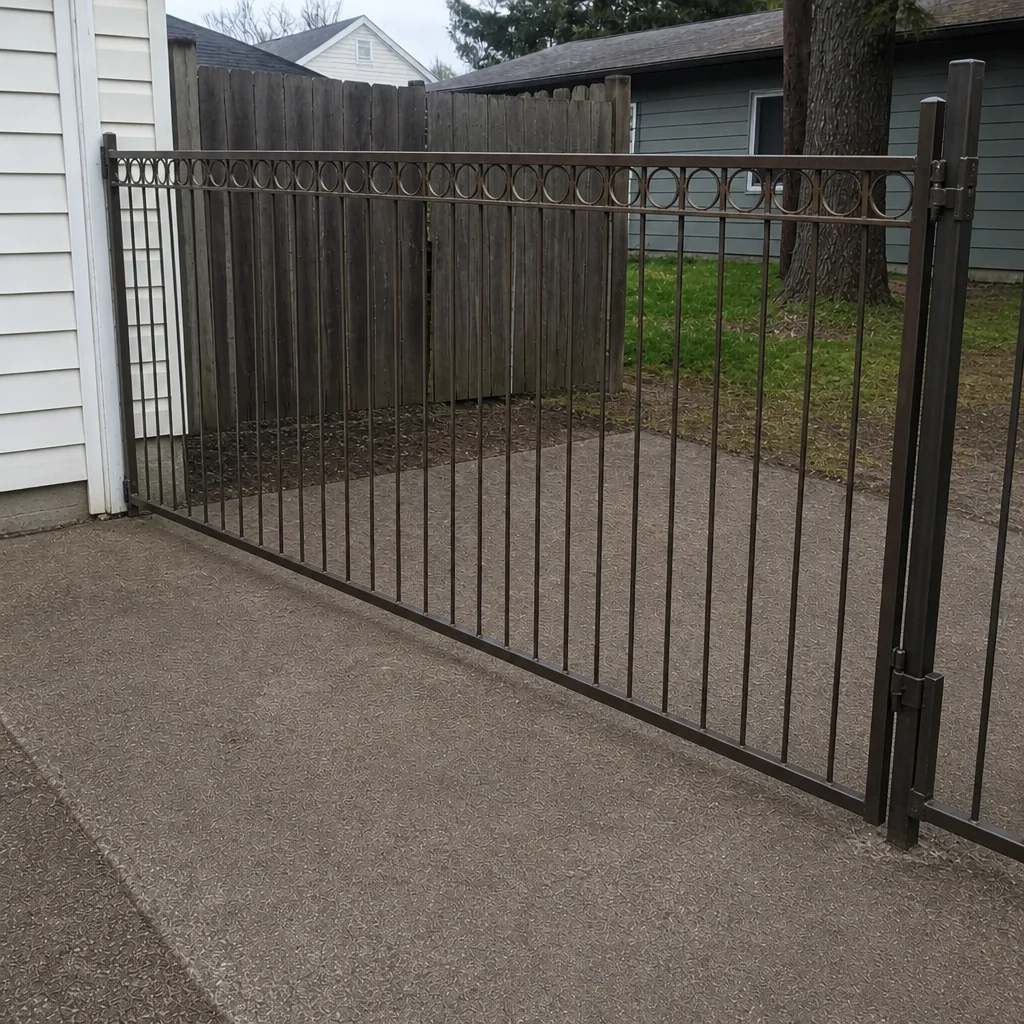
See the difference
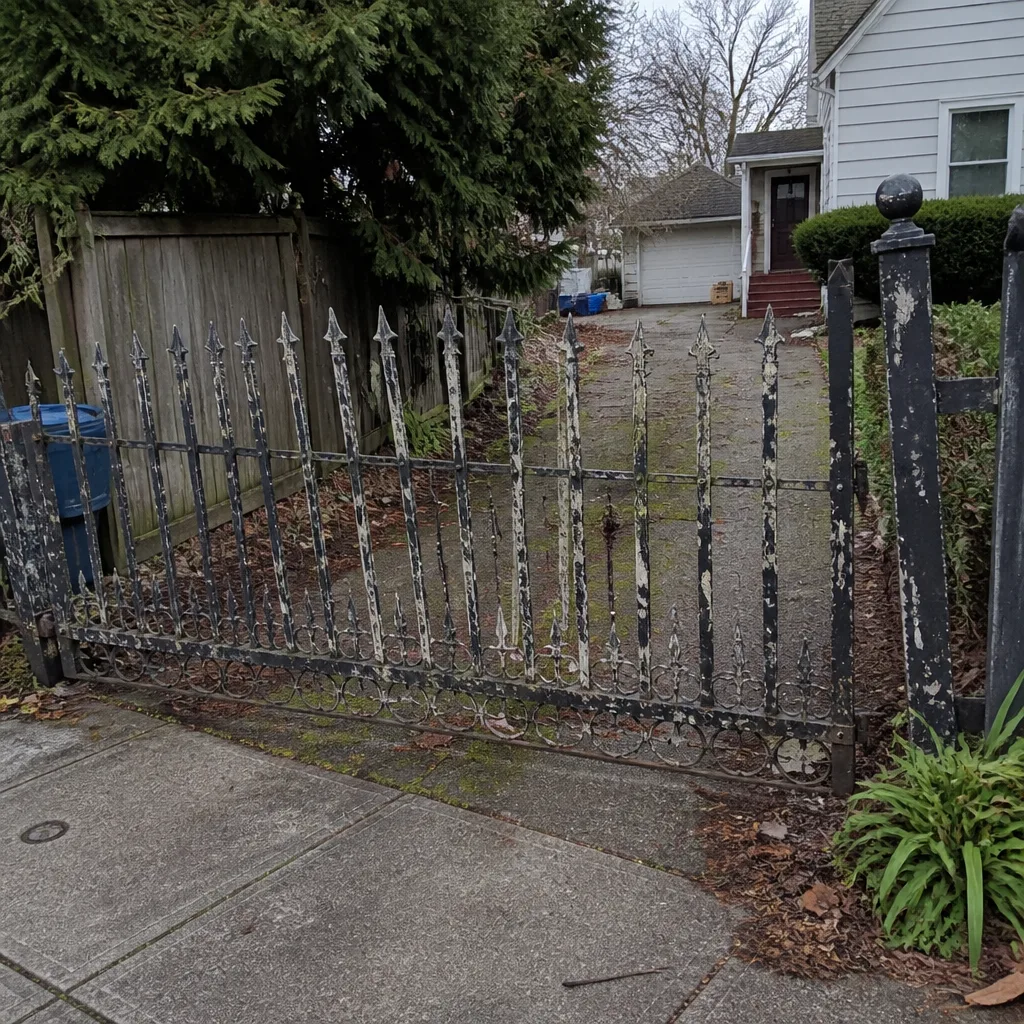 Before
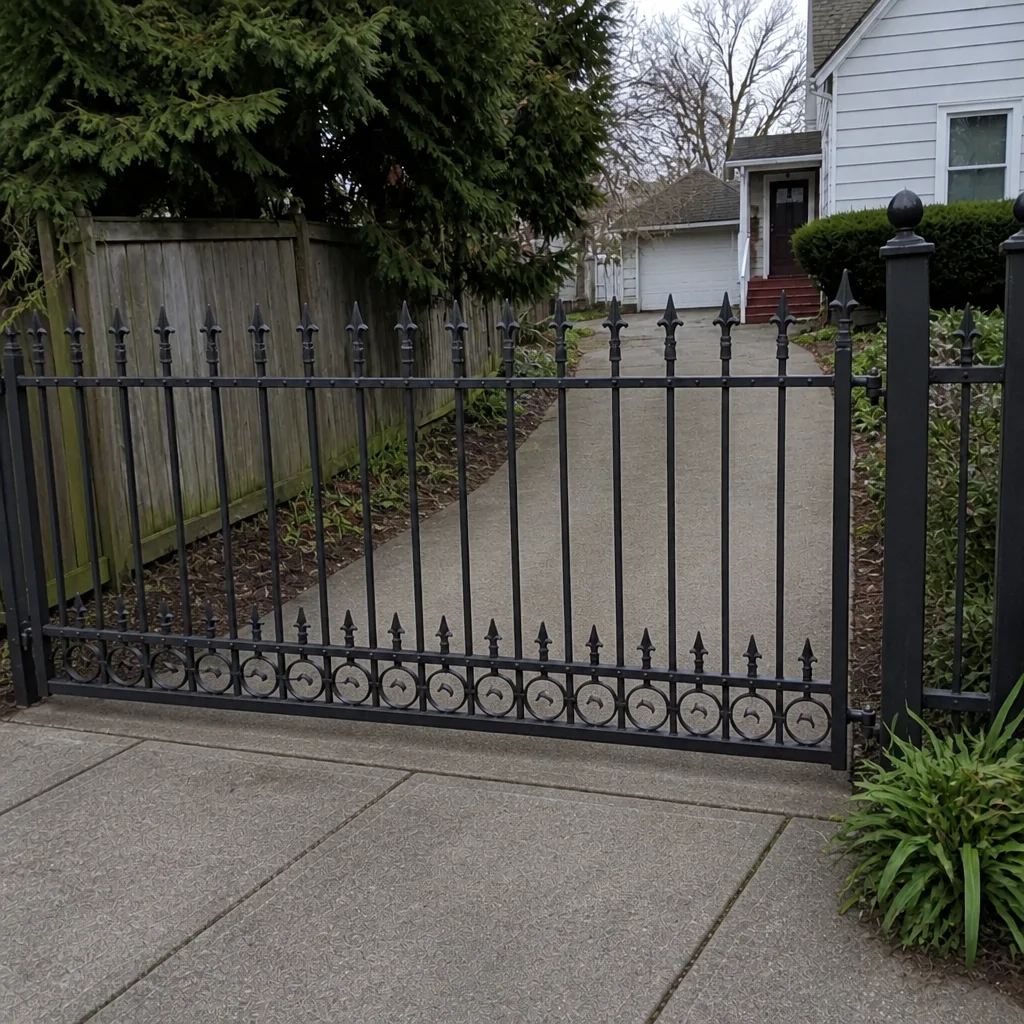 After
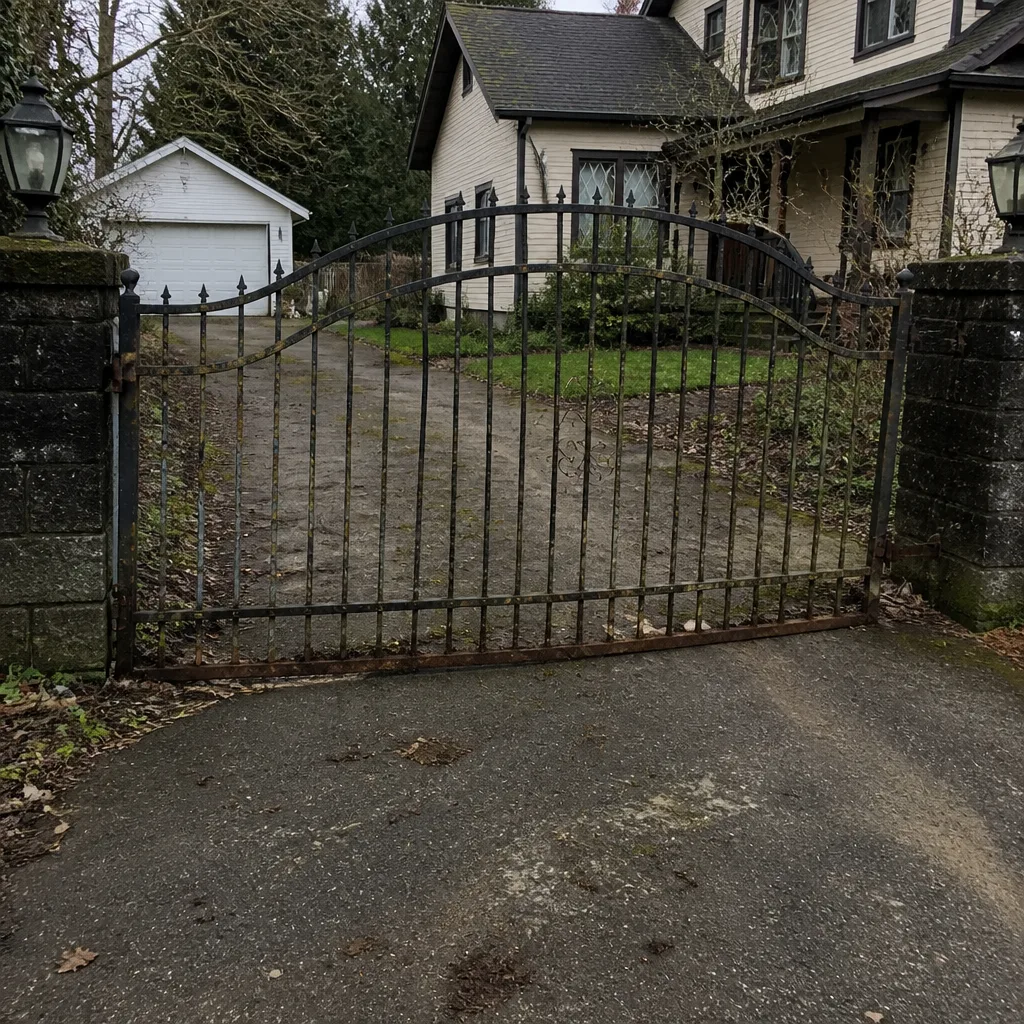 Before
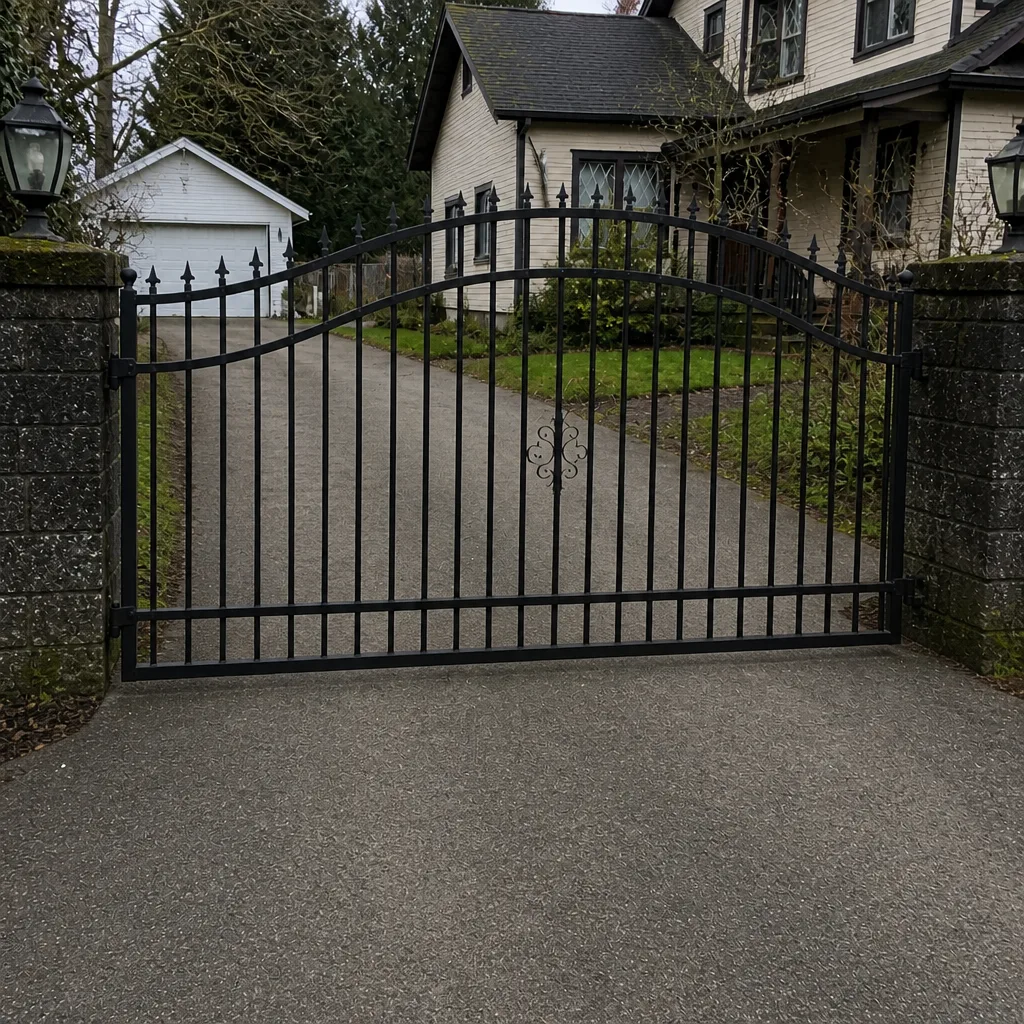 After
 Before
 After
When to Call a Professional
Not every issue needs a technician. Clearing debris, applying grease, and doing a visual inspection are all things you can do yourself. But some signs mean it’s time to call. If the gate doesn’t reverse when a safety device is triggered, stop using it and get it looked at. If water has gotten into the operator enclosure or you see corrosion on the terminals, that’s a repair, not a maintenance item. If the chain or belt won’t hold tension after adjustment, the problem is underneath it. If the battery backup fails the load test, replace it. If the gate jerks, slips, or won’t stay closed, diagnose before you keep running it.
We handle gate repair, electric gate repair, and new gate installation, and we work on the gate you have rather than pushing you toward a replacement. Our technicians have up to 13 years of experience and know the systems that commonly show up on Portland properties. Gate Repair Portland offers free estimates in Portland. Call (855) 473-7281 to set one up. We answer 24/7. Fast dispatch from 7am to 7pm, Sunday through Friday.
Frequently Asked Questions
At least monthly during the wet season (October through April) with two full inspections per year, one in early fall and one in spring. Portland’s long wet stretch and freeze-thaw cycles mean moisture and tension problems move faster than they would in a drier climate, so the monthly visual check catches small issues before they become repairs. Call (855) 473-7281 for an exact quote on a professional inspection; estimates are free.
Yes, though it’s indirect. Moss holds water against the metal and plastic of the operator housing, which keeps the seal wet and pushes moisture toward cable entries and seams. Once moisture reaches the control board, terminal connections corrode and the operator starts behaving erratically. Cleaning moss off the housing and resealing any compromised areas is a real preventive step in Portland, not just a cosmetic one. Call (855) 473-7281 if you’re seeing moss around the enclosure.
Freeze-thaw cycles stress the mechanical linkage and can shift the alignment of the operator relative to the gate, which changes effective tension. A chain that’s correct in October may be off by February, and a loose one wears sprockets quickly. Rechecking after the first hard freeze and again in spring is the fix. Call (855) 473-7281 to have a technician check it.
Test it in early November, before the windstorm season peaks, and again in mid-January. Simulate an outage by disconnecting main power and running an open-and-close cycle on the remote, then note how many cycles the battery carries before the gate slows. A backup battery that hasn’t been load-tested is a battery you don’t know. Call (855) 473-7281 for a free estimate if you want a professional to load-test it.
Use lithium or lithium-complex grease on hinges, pivots, and rollers, and a chain-specific lubricant on chain-drive operators. These stay in place through the wet season. Thin sprays and general penetrating oils like WD-40 wash out within weeks and leave the moving parts grinding. Call (855) 473-7281 if you’re not sure which product fits your system.
Yes. A gate that doesn’t reverse when a safety device is triggered is a safety hazard and should not be used until a technician has looked at it. In Portland we see this most often from safety edges that have corroded, photo eyes that are misaligned, or a loop detector that’s failing. Do not keep operating the gate “to see if it clears up.” Call (855) 473-7281 to get it diagnosed.
The Bottom Line
Gate maintenance in Portland is not the same as gate maintenance on a card written for a suburb of Phoenix. What degrades first here is moisture-driven: moss on the housing, water past a tired gasket, corroded terminals, washed-out lubricant, and chain or belt tension that shifted after a freeze. Build your schedule around the wet season and the freeze-thaw window, test the battery before the windstorms, and use a lubricant that actually holds up. The checklist above covers all of it. If you’d rather have a specialist look at the whole system, one call handles it.
We work on the gate you have, not the one we’d prefer to sell you. That includes electric systems from LiftMaster, FAAC, Mighty Mule, Elite, and the other brands we handle regularly. If you want a free estimate on repair, maintenance, or a new gate installation, call (855) 473-7281. We answer 24/7. Fast dispatch from 7am to 7pm, Sunday through Friday. Closed Saturday.
Written by the team at Gate Repair Portland.